How to Set the STC-1000 Temperature Controller (Step-by-Step Guide)
Introduction: Why the STC-1000?
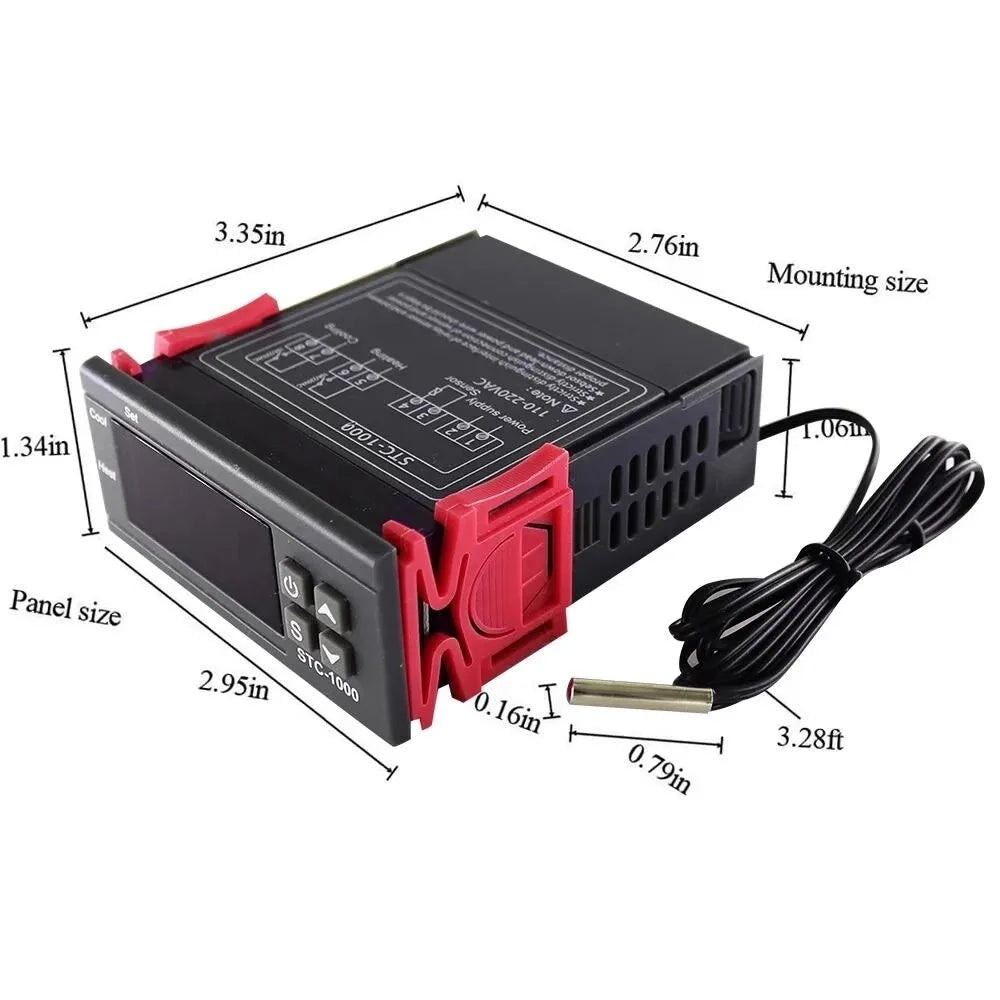
The STC-1000 is one of the most widely used digital temperature controllers because it’s affordable, reliable, and versatile. Whether you need precise control for aquariums, incubators, greenhouses, or food fermentation, the STC-1000 makes temperature management simple.
In this guide, we’ll walk through how to wire, configure, and set up the STC-1000, plus tips for troubleshooting and real-world examples.
Safety First ⚠️
Before you begin, remember:
- Always disconnect power before wiring.
- Double-check the voltage version you purchased (12V, 24V, 110V, or 220V).
- Use proper tools and protective equipment.

Incorrect wiring can damage the device or pose electrical hazards.
Step 1: Wiring the STC-1000
The STC-1000 has eight terminals, each with a specific purpose.
Wiring overview:
- Power Input: Terminals 1 & 2 (connect to your power supply, e.g., 110V AC).
- Relay Output for Cooling: Terminals 5 & 6 (connect your cooling device).
- Relay Output for Heating: Terminals 7 & 8 (connect your heating device).
- Temperature Sensor: Terminals 3 & 4 (probe included with the controller).

👉 Always confirm your device’s voltage rating before connecting.
Step 2: Understanding the Control Buttons
The STC-1000 has four buttons:
- SET – Enter settings mode.
- ▲ (Up) – Increase values.
- ▼ (Down) – Decrease values.
- Power (On/Off) – Turns the device on or off.

These buttons are used to configure parameters.
Step 3: Configuring the Parameters
The STC-1000 has four key functions (F1–F4):
-
F1 – Set Temperature (Set Point)
The desired temperature you want to maintain.
Example: For beer fermentation, set F1 = 20°C. -
F2 – Temperature Differential
The margin before the heating/cooling activates.
Example: If F1 = 20°C and F2 = 0.5°C, cooling will start at 20.5°C and heating at 19.5°C. -
F3 – Calibration
Adjusts the probe reading if inaccurate.
Example: If your thermometer shows 25°C but the STC reads 24.5°C, set F3 = +0.5. -
F4 – Compressor Delay (minutes)
Protects your compressor from short cycling.
Example: Set F4 = 3 to wait 3 minutes before restarting cooling.
Step 4: Example Setups
Here are common use cases with suggested settings:
-
Aquarium
- F1 = 25°C
- F2 = 1.0°C
- Heating activates at 24°C, cooling at 26°C.
-
Incubator
- F1 = 37.5°C
- F2 = 0.5°C
- Heating kicks in below 37°C, cooling above 38°C.
-
Home Brewing / Fermentation
- F1 = 20°C
- F2 = 0.5°C
- Keeps yeast in a stable environment.
-
Greenhouse
- F1 = 22°C
- F2 = 2.0°C
- A wider range reduces frequent cycling.

Step 5: Troubleshooting the STC-1000
If something isn’t working, check these first:
- Screen flashes “EE”: Sensor error – check if the probe is damaged.
- Relay not clicking: Verify wiring and device power.
- Temperature readings seem off: Use F3 calibration.
- Cooling/heating not starting immediately: Check F4 compressor delay.
Step 6: Comparing STC-1000 with Other Models
- STC-3000: Dual display, easier monitoring of set temp vs real temp.
- STC-3028: Dual relay, can control heating and cooling simultaneously with better precision.
- STC-3008: More compact design with additional programming options.
👉 If you’re looking for extra features, check our STC Controllers Collection.
FAQs About STC-1000
Q: Can I use the STC-1000 without a cooling device?
Yes, you can use it for heating only.
Q: Is the probe waterproof?
The probe is water-resistant, suitable for aquariums, but should not be submerged long-term without protection.
Q: Can I use it for freezers?
Yes, as long as you wire it correctly and set the compressor delay (F4).
Final Thoughts
The STC-1000 is a powerful yet simple controller that can transform how you manage temperature in multiple applications. With the right setup, you’ll enjoy stable and precise results.
👉 Ready to get started? Check out our full range of STC Controllers & Accessories.